

By Laura Daly on Thursday, 11th June 2026
Production Techniques: A Step-by-Step Tutorial with Sample Shot Breakdowns
Great lighting is one of the biggest factors that separates an amateur look from a professional cinematic feel. The way you light your scenes, from mood and contrast to depth and texture directly impacts how audiences emotionally connect with your story. In this tutorial, we’ll explore core lighting techniques for film making, practical tips you can use on set, and sample shot breakdowns to help you see how lighting transforms visuals in real time.
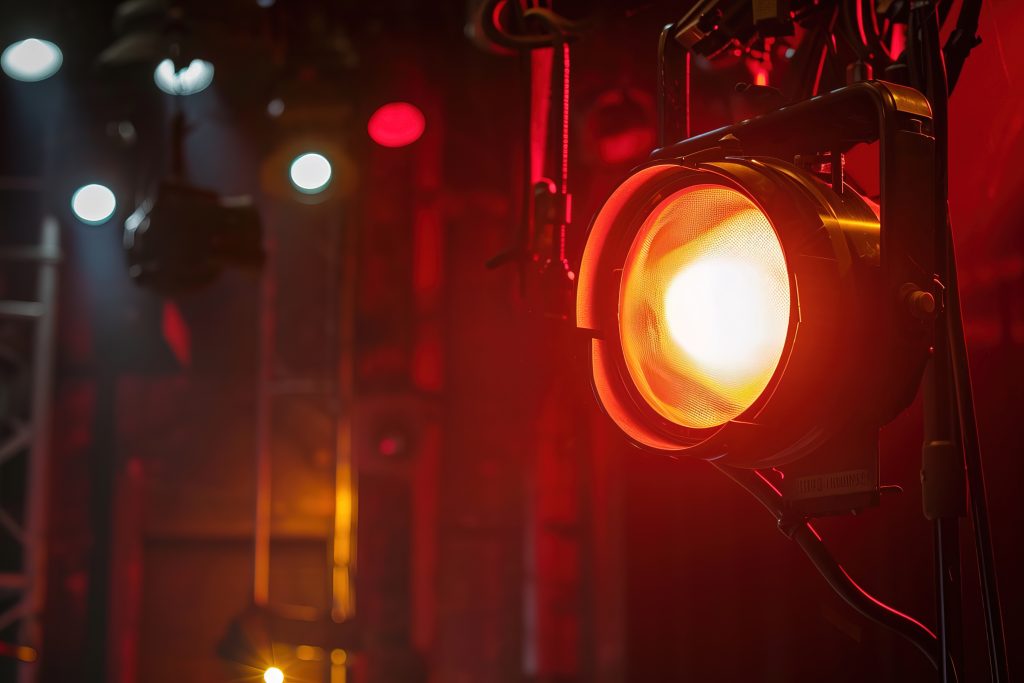
Why Lighting Matters in Film Making
Lighting isn’t just about making sure the camera sees your scene, it’s a powerful tool for mood, storytelling, and visual language. Intentional lighting choices can:
- Create depth and separation between subject and background
- Shape drama and emotion through shadows and highlights
- Direct audience focus within a frame
- Elevate production value instantly
Just a few simple lighting techniques can make footage look far more cinematic, regardless of your camera or budget.
Three-Point Lighting: The Foundation of Film Lighting
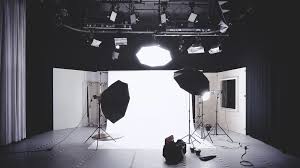
The three-point lighting setup is one of the most widely used and versatile techniques in film production. It gives your shots depth and professional polish by using three light sources positioned strategically around the subject.
Key Light (Main Light):
This is your strongest light source and defines shape and shadow on your subject. Position it at about 45° to the camera and slightly above eye level for natural, flattering illumination. PEAKBOUND STU
Sample Shot:
A medium interview close-up with a strong key light on one side creates dimension and a natural look.
Fill Light:
Placed opposite the key, the fill light softens shadows without eliminating them completely. It should be less intense, often 25-50% of the key light’s strength – so it controls contrast effectively. Become better crea
Sample Shot:
Compare the same interview without fill light (dramatic contrast) and with fill (softer, more balanced tone).
Back Light (Rim Light):
Placed behind and above the subject, this light separates them from the background, giving your shot depth and a three-dimensional feel. Videaura
Sample Shot:
A silhouetted profile becomes defined once a gentle back light adds a halo on hair and shoulders.
Pro Tip: Use reflectors or walls as additional fill if you don’t have a dedicated light, they bounce existing light back onto your subject and improve shadow control. NFI
Beyond the Basics: Creative On-Set Lighting Techniques
Once you’ve mastered the essentials, you can use lighting in more expressive ways to affect mood and narrative.
High-Key vs Low-Key Lighting
High-Key Lighting: Bright, even lighting with minimal shadows: great for comedies, upbeat dramas, or lifestyle visuals. Silvermine Productions
Low-Key Lighting: Deep shadows and high contrast: ideal for thrillers, noir, or moody storytelling. Silvermine Productions
Sample Shots:
- High-key: A warmly lit, evenly bright living room scene for an emotional reunion.
- Low-key: A shadowy alleyway conversation with dramatic highlights and deep shadows.
Dramatic Techniques for Visual Impact
Lighting can help visually characterise your scene, not just brighten it.
Side Lighting & Chiaroscuro
Side lighting creates strong shadows on one side of a subject’s face or body, providing contrast and emotional tension. This style is inspired by classical art and is effective for dramatic storytelling.
Sample Shot:
A close-up where half of a character’s face is lit and the other half shadowed, highlighting internal conflict.
Color Lighting & Gels
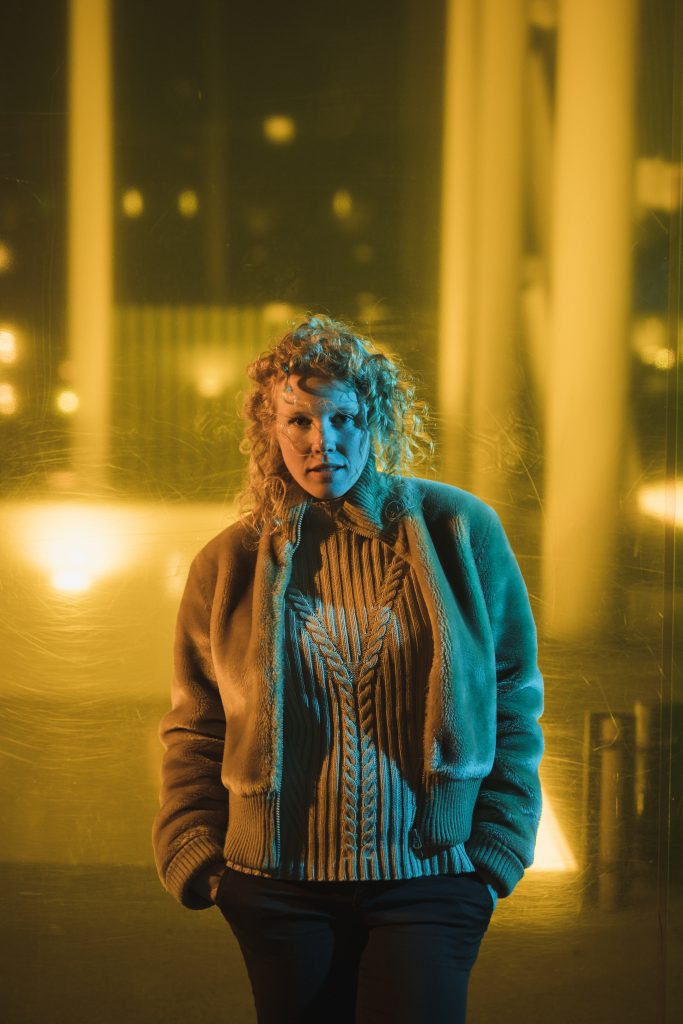
Using coloured lights or gels over your lighting fixtures lets you cue emotional tone without dialogue. Cool blue tones can feel cold or sad, while warm reds or yellows can feel passionate or intense. LocalEyes Video Production
Sample Shot:
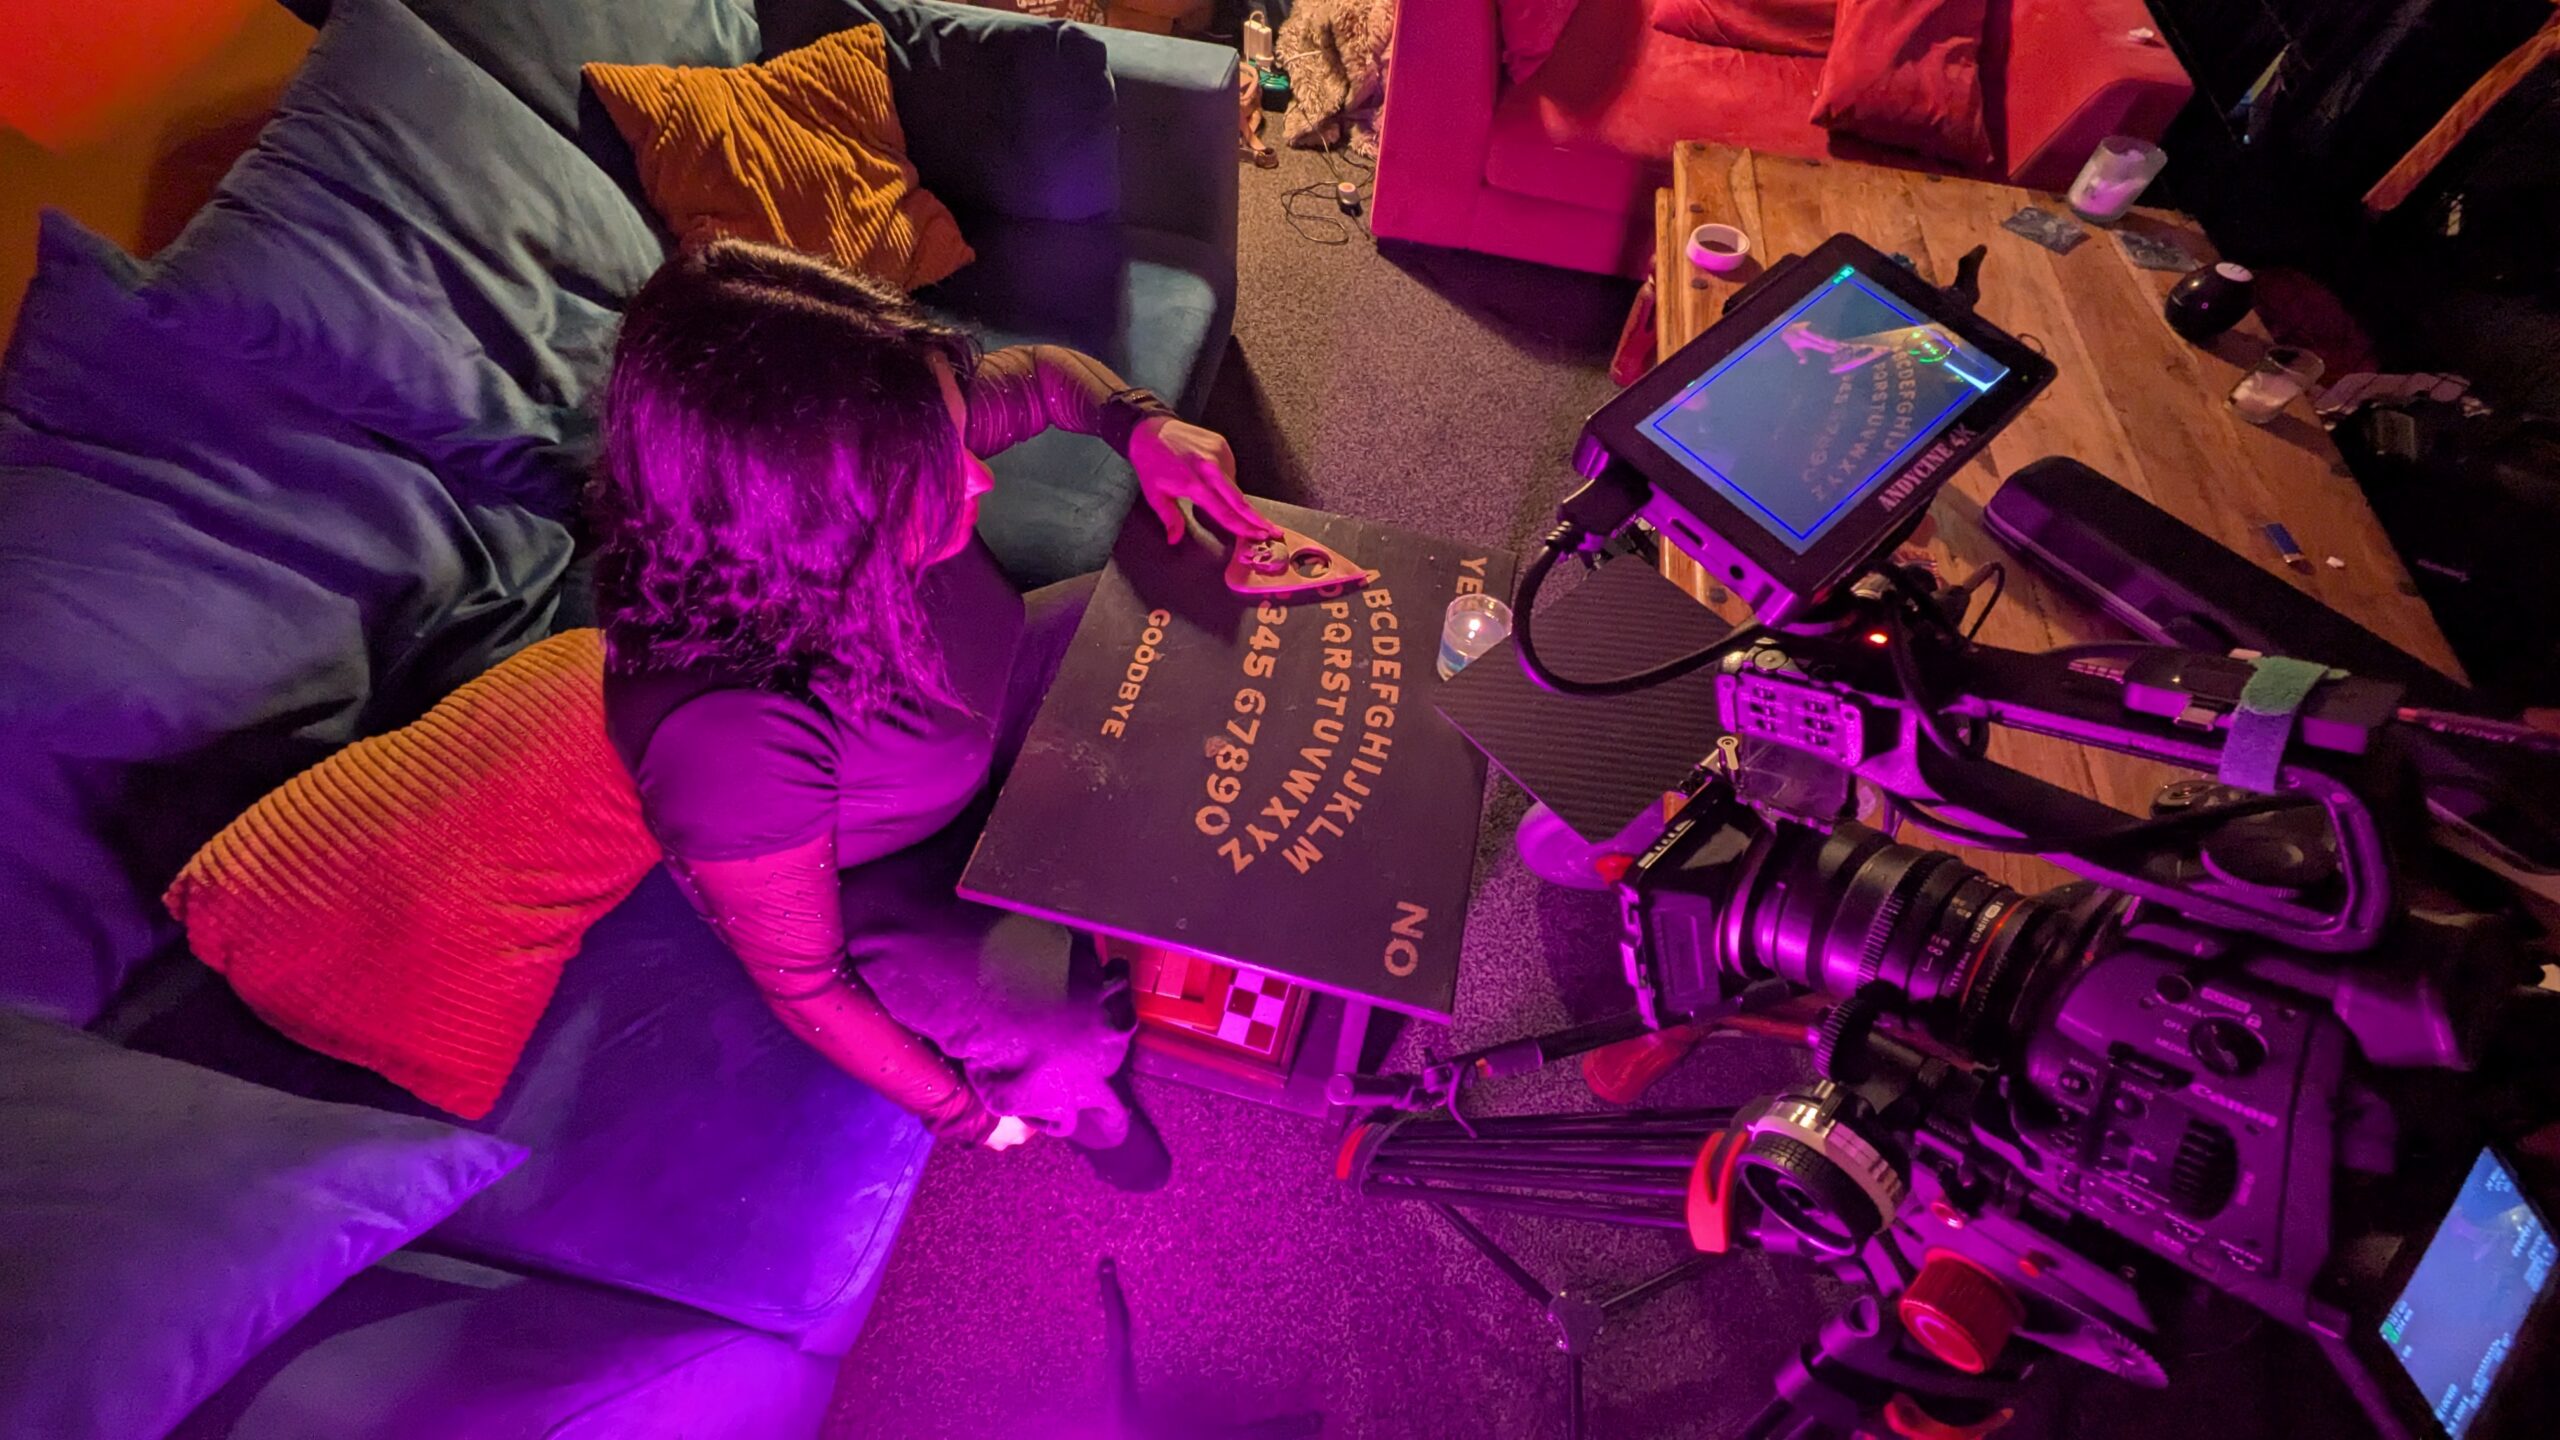
A nightclub scene lit with deep blues and purples to convey mystery or tension.

Practical Tips for On-Set Lighting Success
Here are actionable tips you can use right away:
- Test your lights before shooting Small changes in placement dramatically affect mood.
- Control unwanted spill with flags, barn doors, or black foam-core boards to keep light off areas you don’t want lit. litepanels.com
- Use diffusion (scrims, softboxes) to soften harsh lights and produce flattering shadows. litepanels.com
- Match lighting to story tone bright and even for lighthearted moments, contrast and shadow for tension. PEAKBOUND STUDIO
Sample Lighting Breakdown Scenes
Here are a few practical lighting scenarios you can recreate on your next shoot:
Scene 1 – Dramatic Dialogue
Goal: Build tension between two characters.
Setup: Key light on one actor; low-intensity fill on the other, creating uneven shadows. Add a backlight for separation.
Scene 2 – Emotional Close-Up
Goal: Highlight emotional vulnerability.
Setup: Soft key light front-left and gentle fill on front-right; reduce backlight for intimacy.
Scene 3 — Interview Feel
Goal: Professional, polished look.
Setup: Classic three-point lighting with balanced key and fill plus a gentle backlight.
Final Takeaways: Lighting That Tells a Story
Lighting is one of the most expressive tools at your disposal as a film maker. Whether you use classic three-point lighting to establish clarity and dimension or experiment with colour and contrast for emotional depth, understanding how to manipulate light will instantly elevate your visuals and storytelling. Videaura+1
Pro Tip: Think of lighting as visual storytelling, just as important as your actors or camera movement. The stories you tell are as much in the shadows as they are in the highlights.
More Insights and Tips for Filmmakers
Explore expert advice, behind-the-scenes guides, and practical tips to help you plan, manage, and deliver better film and TV productions.

Outline vs Treatment vs Screenplay: What’s the Difference?
For new filmmakers, and even experienced indie directors, the terms outline, treatment, and screenplay are often used interchangeably. In reality,…
Why Getting It Right In-Camera Always Beats “Fix It In Post”
With modern video editing software, “fix it in post” has become the ultimate security blanket. We’ve been conditioned to view…
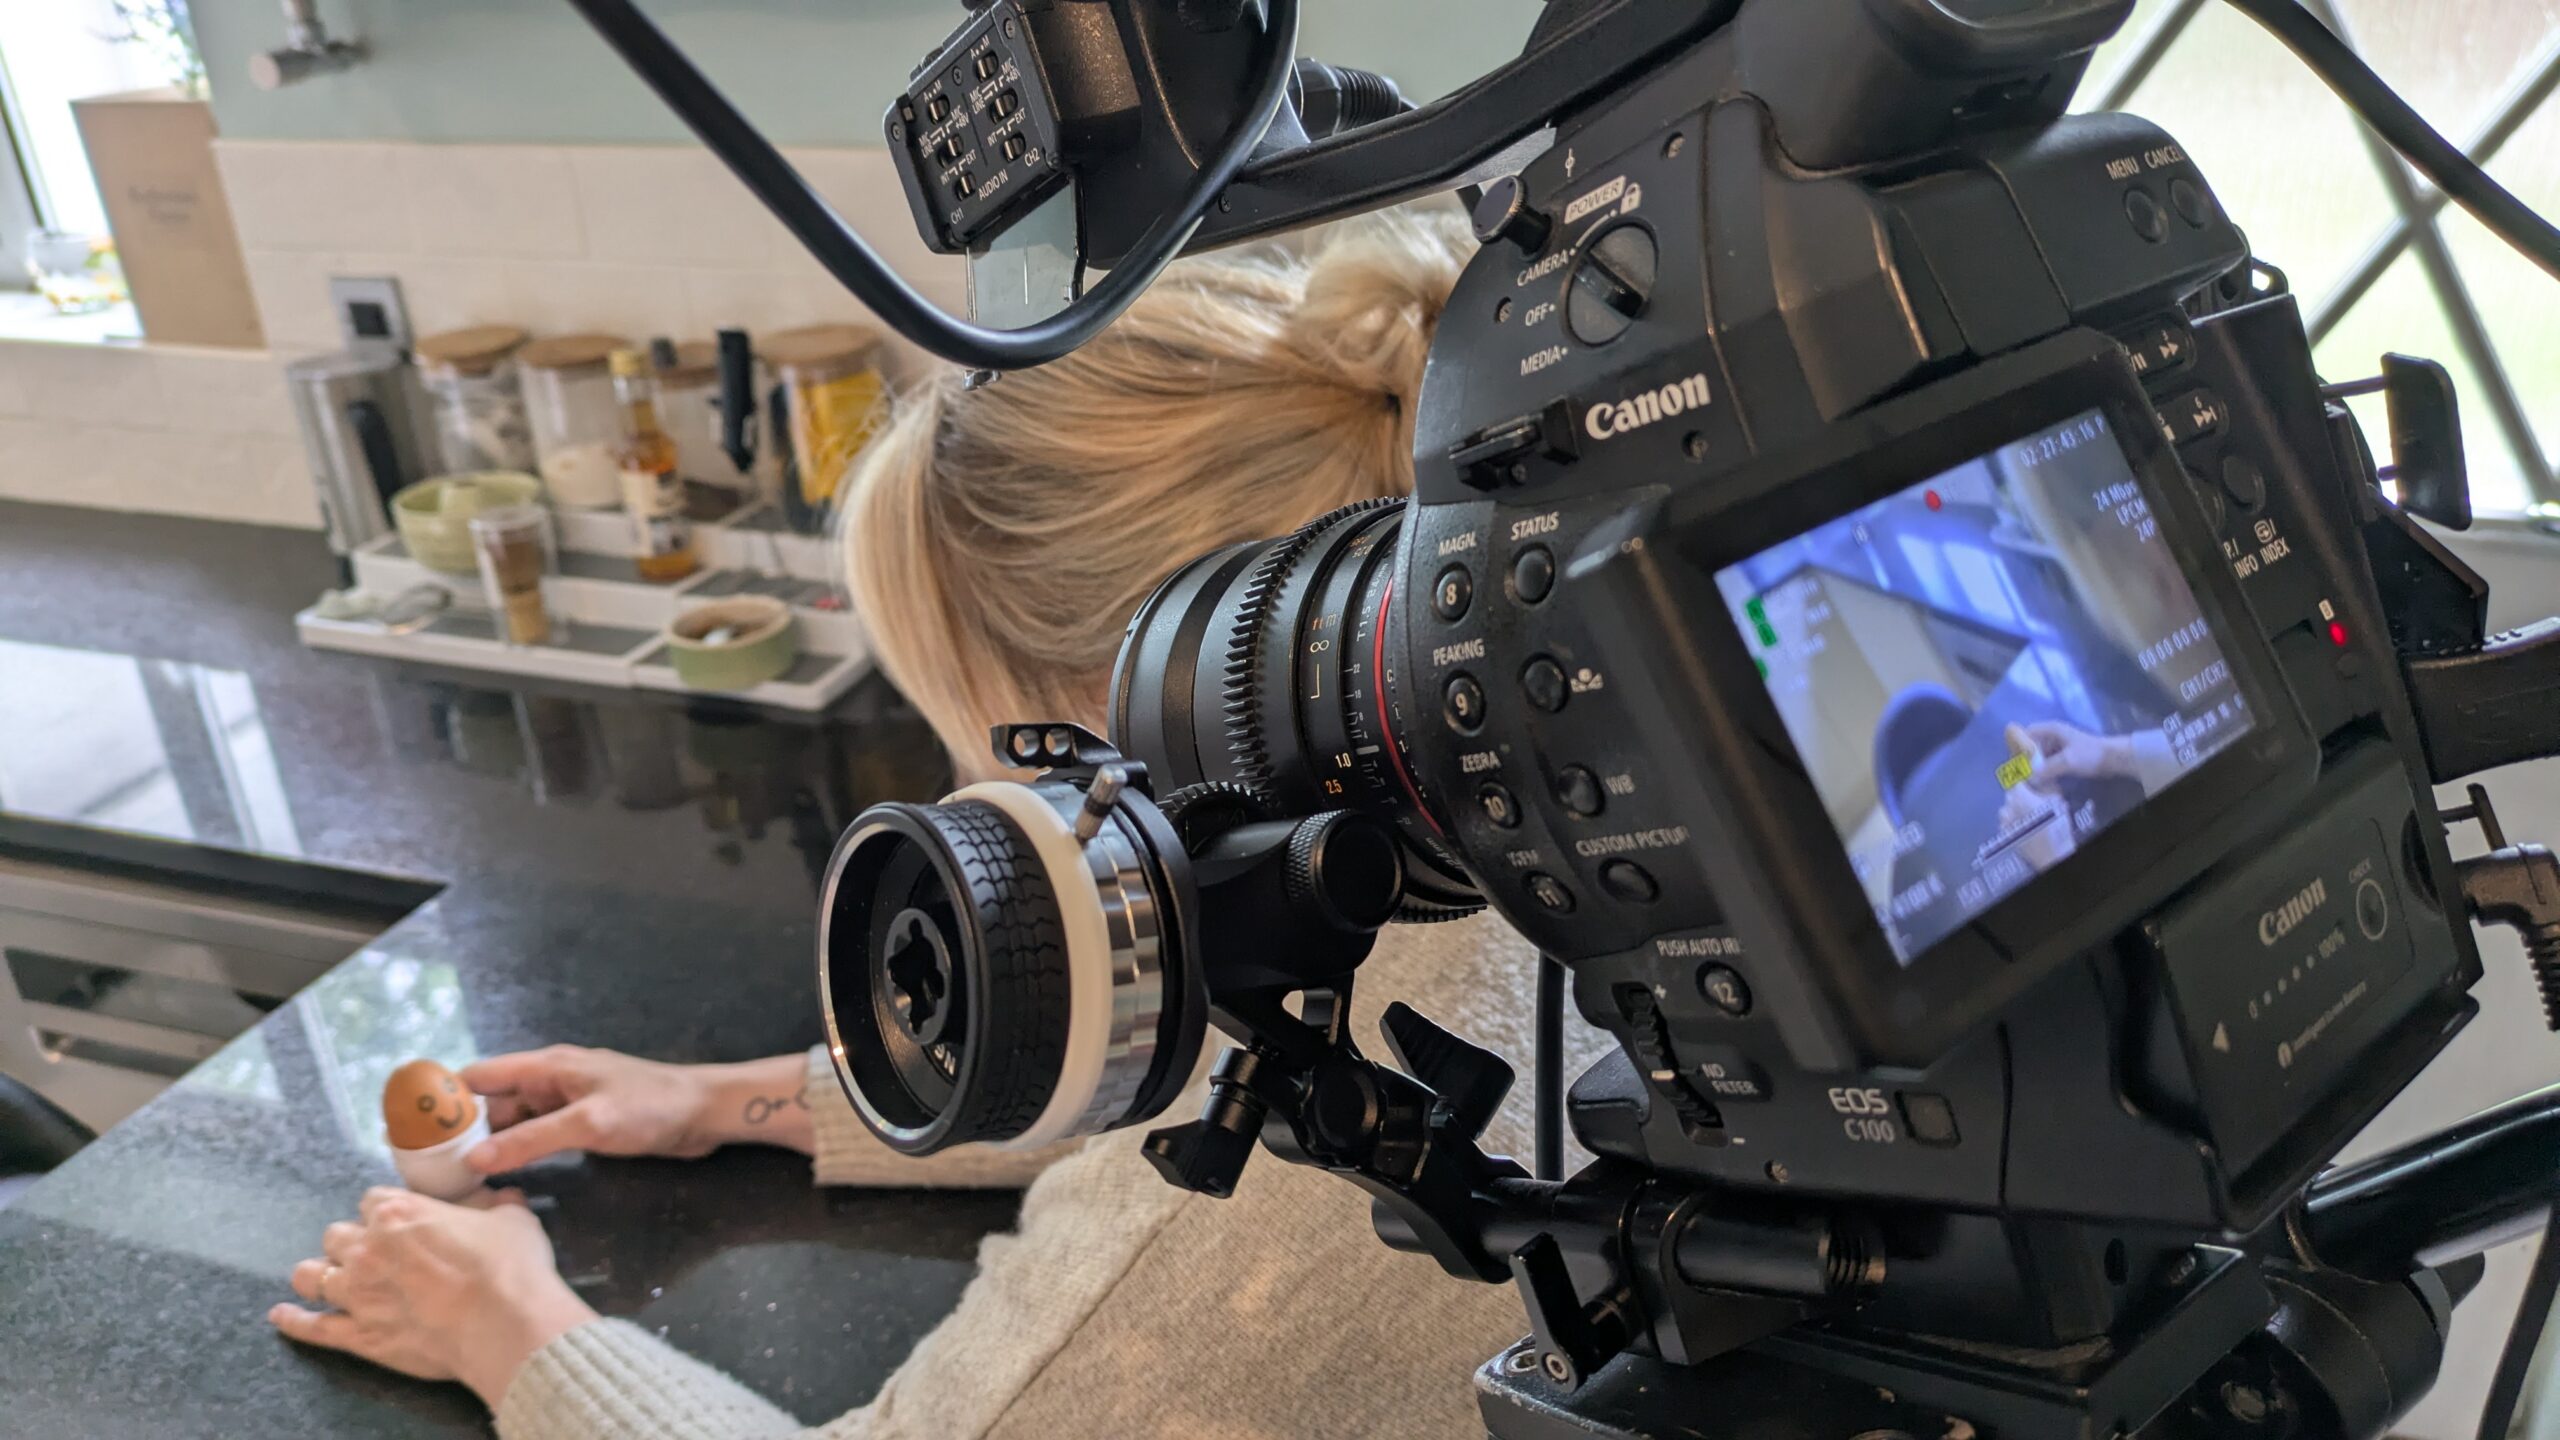
Does Filmmaking Gear Really Matter? Why Skill Beats Specs
Since the advent of digital technology, a lot of filmmakers have gotten hung up on making sure they have the…
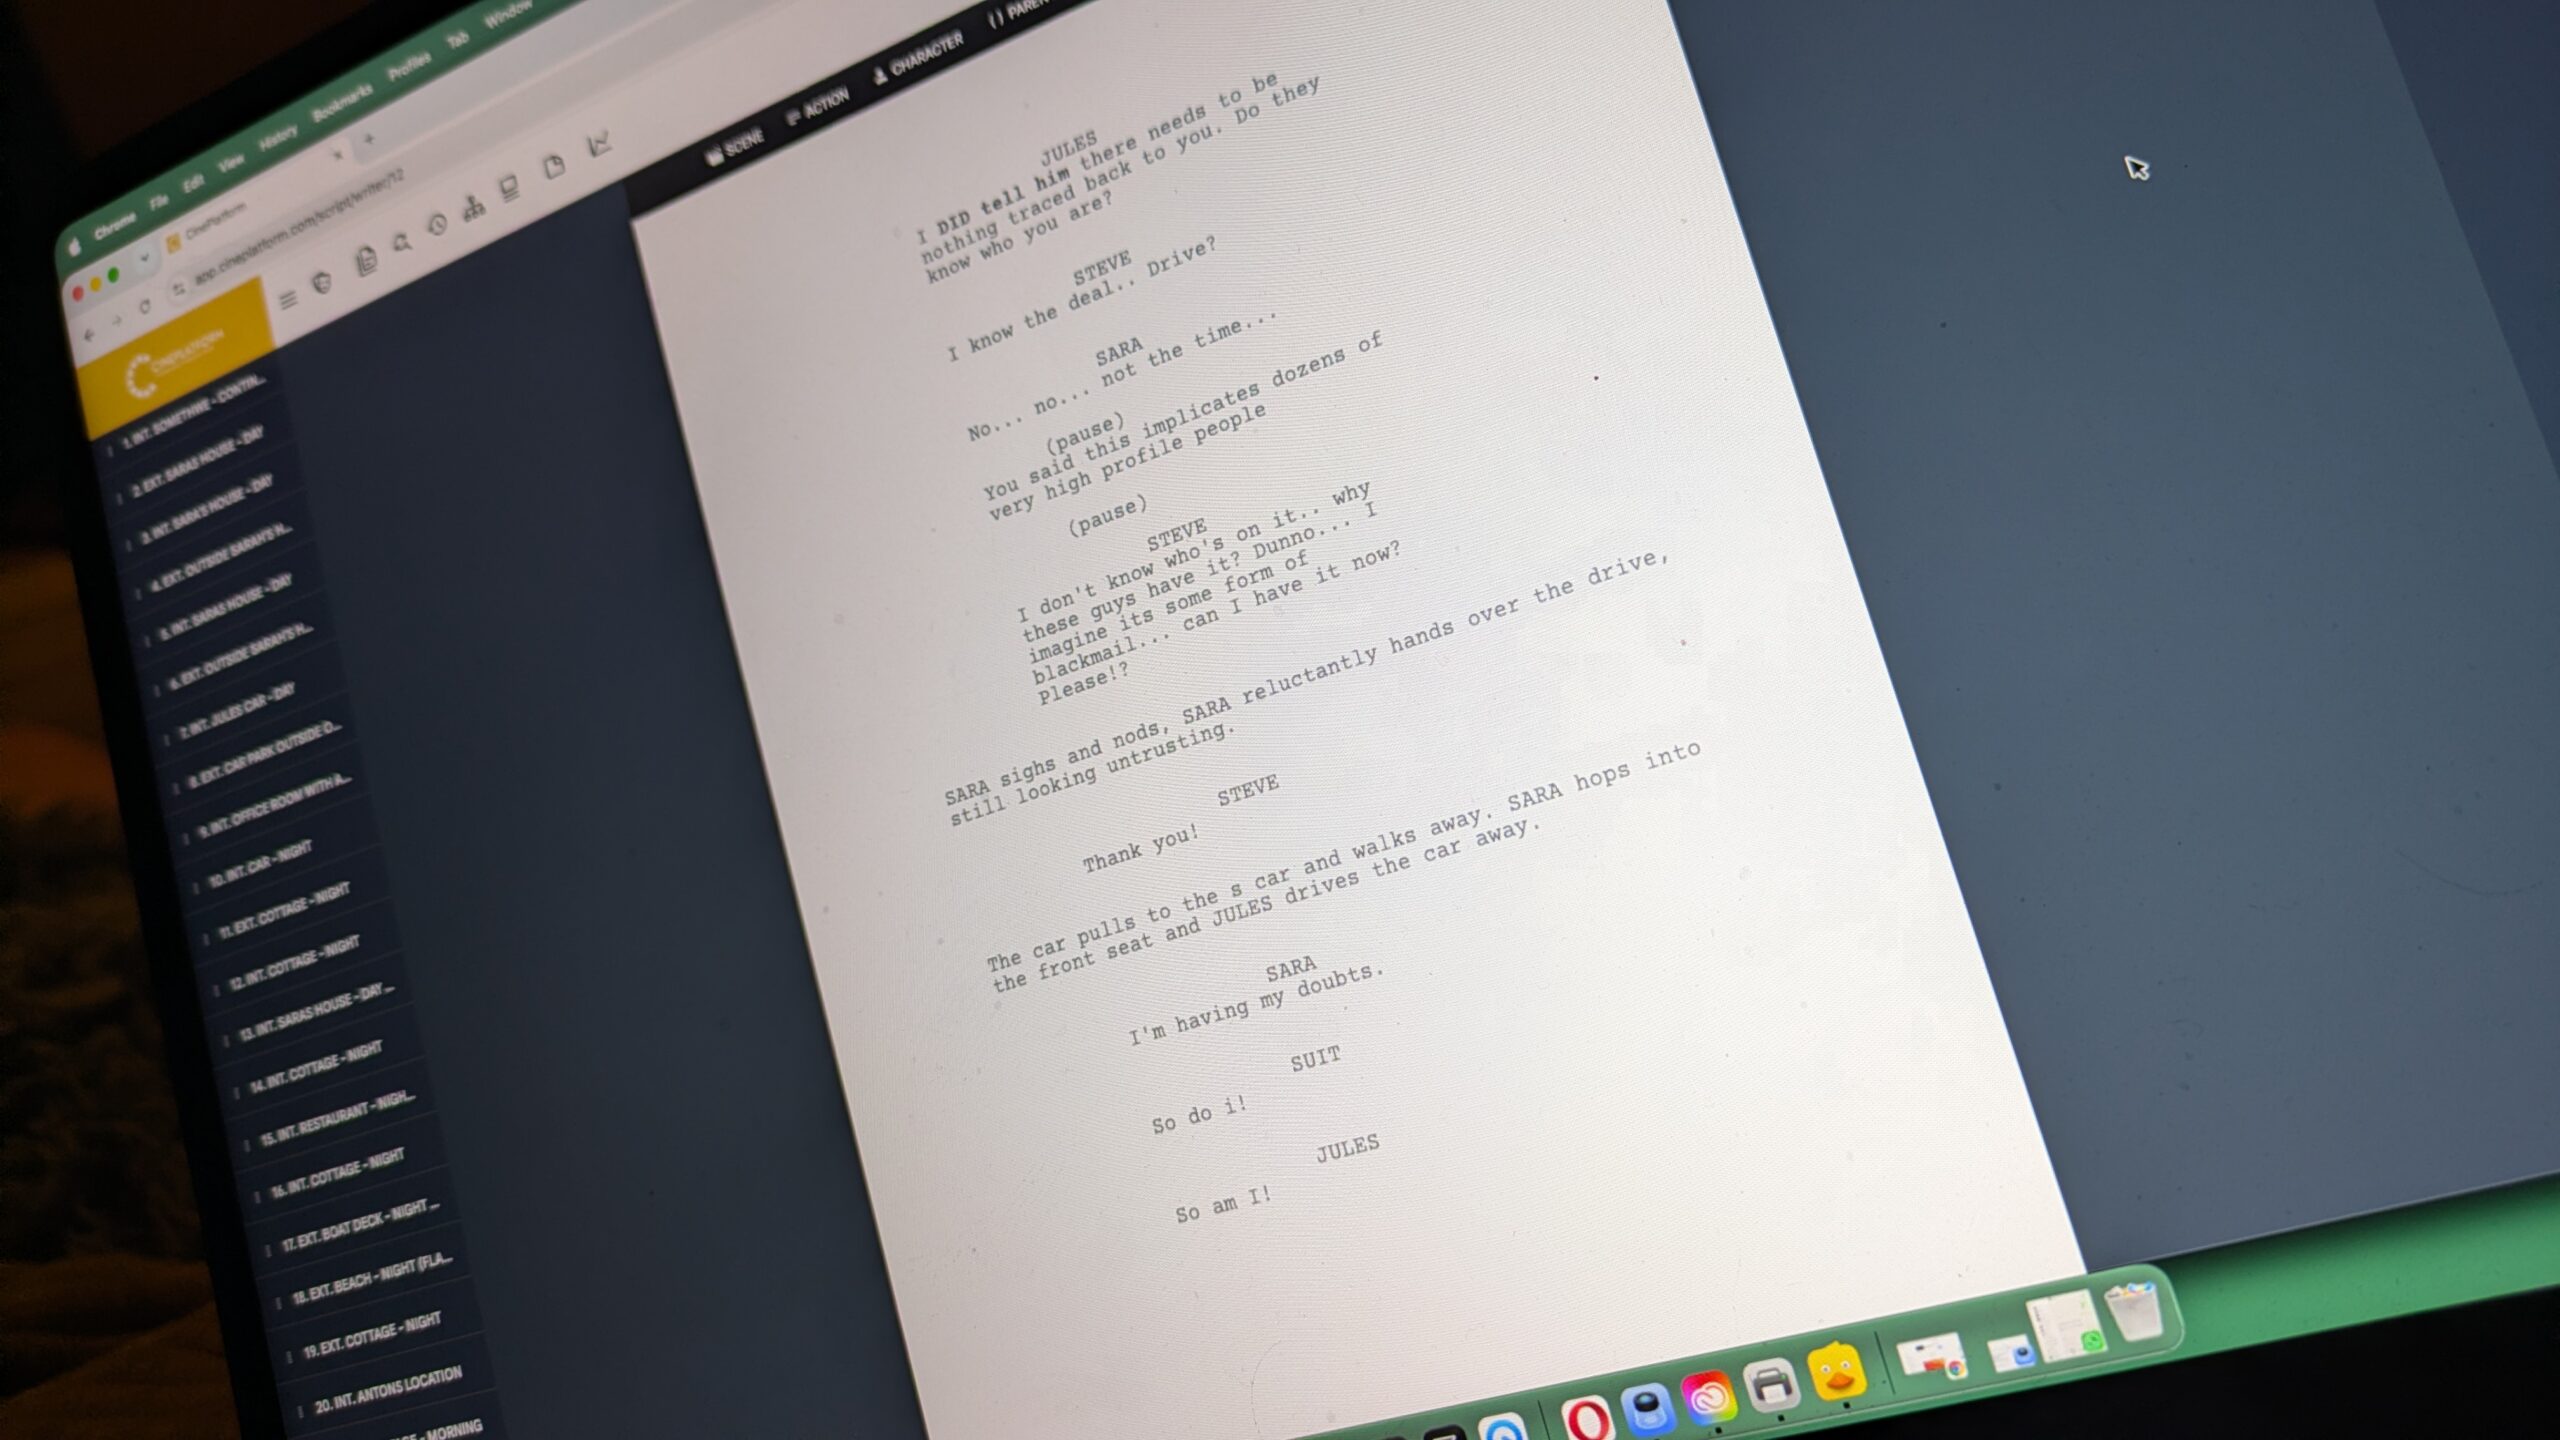
Common formatting mistakes that flag a script as not ready?
Industry standard formatting for screenplays exists for a reason, one page roughly equals one minute of screen time, your screenplay…

Editing Software Guide: Best Tools for Every Budget
Choosing the right video editing software is one of the most important decisions a film maker or creator can make.…

Sound Recording & Design: What Every Filmmaker Should Know
Sound isn’t just an add-on in film making, it’s half the picture. While visuals grab attention, your soundtrack shapes emotion,…
Get In Touch About Your Educational Needs
Our team is ready to discuss how CinePlatform Campus can support your students and faculty — from project management to grading and reporting.
Contact Us To Learn More